
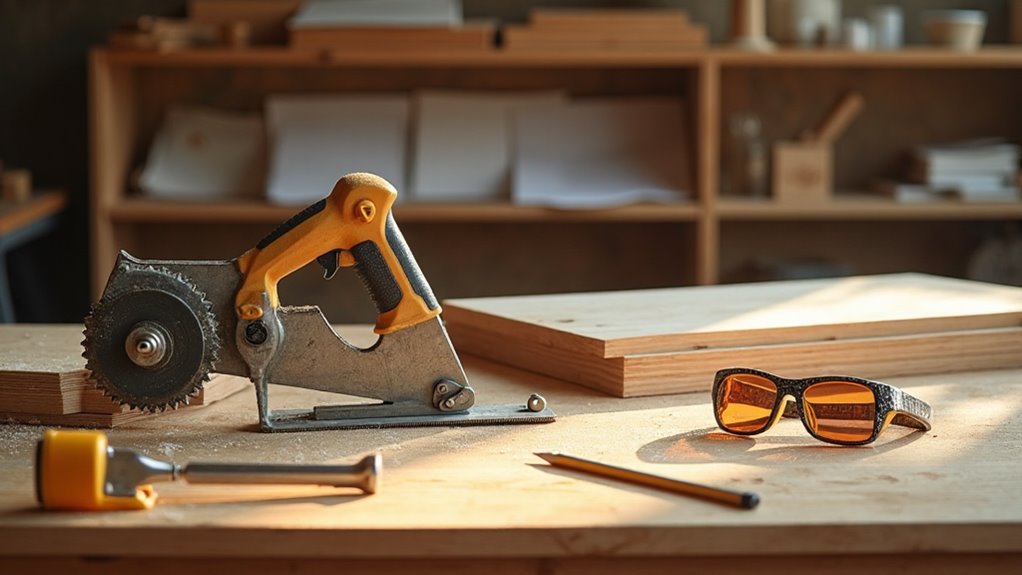
Start with the right mindset: be patient, learn fundamentals, and always wear safety gear. Measure twice, cut once, and sequence work: layout, cutting, joinery, sanding, finish. Equip yourself with five hand tools (tape measure, combination square, hammer, screwdrivers, cordless drill) plus a circular saw, jigsaw, and orbital sander. Set up a tidy, well-lit bench with dust control. Begin with pine, check moisture, and practice small projects to build reliable skills — more practical steps and plans follow.
Key Takeaways
- Learn fundamentals first: measuring, cutting, joinery, sanding, and finishing before tackling complex projects.
- Start with basic hand tools and one or two starter power tools like a cordless drill and circular saw.
- Set up a safe, well-lit workspace with a sturdy bench, dust collection, and reachable safety gear.
- Choose stable, low-cost wood (pine), check moisture content, and inspect boards for straightness and defects.
- Practice through simple projects (step stool, birdhouse, picture frame) and iteratively analyze mistakes to improve.
Start With the Right Woodworking Mindset
Although woodworking rewards speed eventually, you’ll get there by starting with patience and steady practice. You’ll treat woodworking basics as habits: learn woodworking slowly, repeat simple joints, and respect the pace.
Adopt the Beginner’s Guide mentality—follow fundamentals, not shortcuts. Internalize Measure Twice, Cut Once so errors shrink and material lasts. Wear safety equipment every session; safety glasses and hearing protection aren’t optional.
Embrace the Beginner’s Guide: prioritize fundamentals, Measure Twice Cut Once, and always wear safety gear.
When you slip up, analyze the mistake and adjust technique rather than berate yourself—each error teaches a better setup or grip. Keep a positive mindset to sustain focus and build confidence; progress compounds.
With patience, consistent practice, and attention to fundamentals, you’ll convert small, careful steps into reliable woodworking skill.
5 Hand Tools Every Beginner Needs
You’ve built the habits and patience to learn—now outfit yourself with a few reliable hand tools that let those habits pay off. In beginner woodworking, focus on essential tools that deliver accuracy and control. A tape measure and combination square guarantee cuts and joints align; a claw hammer handles nailing without marring wood. Add a basic screwdriver set for assembly and adjustments. While a cordless drill is a power tool, it’s indispensable for beginners to drill and drive efficiently—reserve discussion of the circular saw for the power-tools section.
| Tool | Purpose | Tip |
|---|---|---|
| Tape measure | Accurate layout | Lock and double-check |
| Combination square | Marking/angles | Verify edges |
| Claw hammer | Nailing | Use proper-size nails |
3 Starter Power Tools: Circular Saw, Jigsaw, Orbital Sander
When you start using a circular saw or jigsaw, choosing the right blade is the single best step to get clean, accurate cuts—match tooth count and material type to the job.
For edges and surfaces, an orbital sander lets you control grit progression so you remove marks fast and leave a consistent finish.
Invest in quality blades and pads (Accu-Cut™ is a good example on offer) and you’ll save time and rework down the line.
Choosing The Right Blade
- Choose tooth count for the operation
- Match blade material to wood
- Use correct jigsaw blade profile
- Replace when dull
Smoothing And Finish
Begin by planning how each starter tool fits into your finishing workflow: use the circular saw to size boards accurately, then the jigsaw for any curves or cutouts so pieces marry cleanly.
For smoothing and finishing, the orbital sander is your primary power tool—start with coarse grit to flatten, then step through finer grits to remove scratches and prepare for finish.
Maintain accuracy by checking edges with hand tools like a block plane or sanding block for touch-ups where the sander can’t reach.
Learn tools and techniques for consistent pressure and overlapping passes to avoid gouges.
Clean dust between grits and before applying finish.
These practices speed progress, improve surface quality, and help your woodworking projects look and feel professionally finished.
Set Up a Small Woodworking Workshop (Safety & Layout)
Pick a dedicated spot—like a corner of the garage or a cleared driveway area—with good lighting and ventilation so you can work safely and see fine joinery.
Set up a tidy workspace: position a sturdy workbench, run power outlets, and keep a clear traffic path.
Arrange a neat workspace: place a solid workbench, add accessible outlets, and maintain an uncluttered traffic path
Prioritize safety: keep safety glasses, ear protection, and dust masks handy and train yourself in safe tool use as your woodworking skills grow.
Organize tools and materials for efficiency, using pegboards, labeled bins, and dedicated zones for cutting, assembly, and finishing.
Install a dust collection system or shop vacuum to control debris and improve air quality.
Regularly inspect cords, clamps, and bench stability so your shop stays reliable and hazard-free.
- Sturdy workbench placement
- Safety gear accessible
- Tool organization system
- Dust collection and power layout
Choose and Prep Wood: Pine, Moisture, and Cutting Tips
Start with readily available pine or construction-grade boards—they’re affordable, easy to cut, and forgiving for beginners.
Always measure moisture content before you buy or cut, since damp lumber will warp or shrink as it dries.
Use a sharp blade and make shallow scoring passes to get clean edges and reduce tear-out while you inspect each board for straightness and defects.
Choosing Pine Species
Wondering which pine to use for your first projects? You’ll find choosing pine species is simple: pick affordable, soft boards that are forgiving with hand tools. As a beginner’s go-to, pine offers affordability and ease of cutting, but inspect boards before buying.
- Select straight boards with minimal knots for stability and cleaner joins.
- Prefer lumber close to your workspace’s ambient moisture; the ideal moisture content prevents warping.
- Use sharp tools and score along the grain when cutting to reduce tear-out.
- After cutting, sand the edges and faces with progressively finer grits to achieve a smooth finish.
These practical steps keep your parts true, reduce surprises, and make finishing predictable for reliable beginner projects.
Checking Moisture Content
After you’ve picked straight, low-knot pine and checked it for defects, the next step is to verify its moisture content so your parts stay true as they acclimate and are cut.
Use a moisture meter for accurate measurement: aim for 6–8% for indoor projects. Take readings across several boards and depths; surface-only checks can mislead.
Let newly bought pine sit in your workspace for a few days so it equilibrates to ambient humidity before you finalize cuts. These woodworking tips reduce warping and shrinkage later.
Incorporate moisture checks into your routine woodworking techniques—measure, record, and recheck if conditions change. Even if you favor hand tools, always check moisture; consistent moisture content is foundational to beginner woodworking.
Cutting And Edge Preparation
Choose your cuts with care and prep the edges right away so your pine parts fit and finish cleanly. You’ll pick softwoods like pine for affordability and ease, but verify moisture is under 12% first.
Measure twice, cut once: use a tape measure and combination square to mark straight lines before cutting. Rely on sharp blades for clean faces and make shallow scoring cuts to reduce tear-out.
- Use a reliable square and tape to layout accurate cutting lines.
- Confirm moisture content below 12% to avoid future warping.
- Cut with sharp blades and score edges on softwoods to prevent splintering.
- Finish with light sanding as part of edge preparation for smooth joints and safe handling.
Be deliberate: precise cutting plus proper edge preparation saves time.
3 Beginner Projects to Practice Key Skills (Plans & Steps)
Start with a handful of simple projects that teach core skills you’ll reuse on bigger builds: a step stool or basic shelf to practice measuring, cutting, and assembly; a birdhouse to learn joinery, screw and nail placement, and planning for grain and moisture; a picture frame to master miter joints and sanding for clean edges; a small storage box to sharpen layout, cutting accuracy, and finishing; and wooden coasters to refine sanding and finish work on a small, low-risk piece. You’ll pick beginner projects that use basic skills and hand tools, ideal as your first project in woodworking for beginners. Follow concise plans, measure twice, cut once, and sequence steps: layout, cutting, joinery, sanding, finish.
| Project | Skill Focus | Time |
|---|---|---|
| Step stool | measuring, assembly | 3–4 hrs |
| Birdhouse | joinery, planning | 2–3 hrs |
| Picture frame | miter, sanding | 1–2 hrs |
| Storage box | cutting accuracy | 2–3 hrs |
| Coasters | sanding, finish | 1 hr |
Common Woodworking Problems and Quick Fixes
Those beginner projects will teach you technique, but you’ll run into common problems as you scale up — tear-out, poor fits, warped stock, and uneven sanding are the usual suspects. You can learn to prevent and fix them efficiently with the right Tools and habit.
Keep blades sharp, score before deep cuts, and use a backer board or change cut direction to stop tear-out. Measure twice, cut once to guarantee tight joints, and favor quality hand tools for finer control.
Store lumber in a stable, climate-controlled spot to prevent warping. For sanding, start coarse and progress to finer grits for a smooth finish. Apply these quick fixes so your Woodworking Projects stay accurate and reliable.
- Score cuts to reduce splintering
- Use backer boards for cross-grain cuts
- Accurate measuring for tight joints
- Progress grits to eliminate sanding marks
Frequently Asked Questions
Can I Turn Woodworking Into a Part-Time Side Business?
Yes — you can. You’ll validate market demand, price products to cover materials and time, streamline repeats, set reliable lead times, manage workshop safety, and treat it like a business so you balance production with your main commitments.
What Are the Best Finishes for Outdoor Furniture?
About 75% of outdoor failures come from UV and moisture, so use oil-based spar varnish or marine-grade spar urethane for UV/moisture protection, exterior-grade penetrating oils for maintenance, and epoxy plus varnish for maximum durability.
How Do I Sharpen and Maintain My Hand Tools?
You sharpen and maintain hand tools by regular honing, using stones or diamond plates for edges, stropping, removing rust, oiling metal, conditioning handles, and storing dry; check angles, test cuts, and don’t rush the process.
Can I Use Reclaimed or Pallet Wood Safely?
Yes — you can, but inspect and clean thoroughly. Look for nails, rot, chemicals, and pests; remove fasteners, test for contamination, and sand or plane surfaces. Seal or refrigerate suspect pieces; use proper PPE and ventilation.
What PPE Is Essential Beyond Basic Safety Gear?
Measure twice, cut once: you’ll want hearing protection, a quality respirator (P100 or N95 for dust/chemicals), cut-resistant gloves for handling, anti-vibration gloves for power tools, and steel-toe boots to protect feet.
Conclusion
You’ve got a clear, practical path: learn the mindset, get a handful of reliable hand and power tools, set up a safe small shop, pick forgiving woods like pine, and build simple projects to hone skills. If you worry you’ll make expensive mistakes, remember every pro started with imperfect cuts — cheap practice wood and measured steps keep costs low. Stay focused, practice deliberately, and your confidence and craftsmanship will grow fast.