
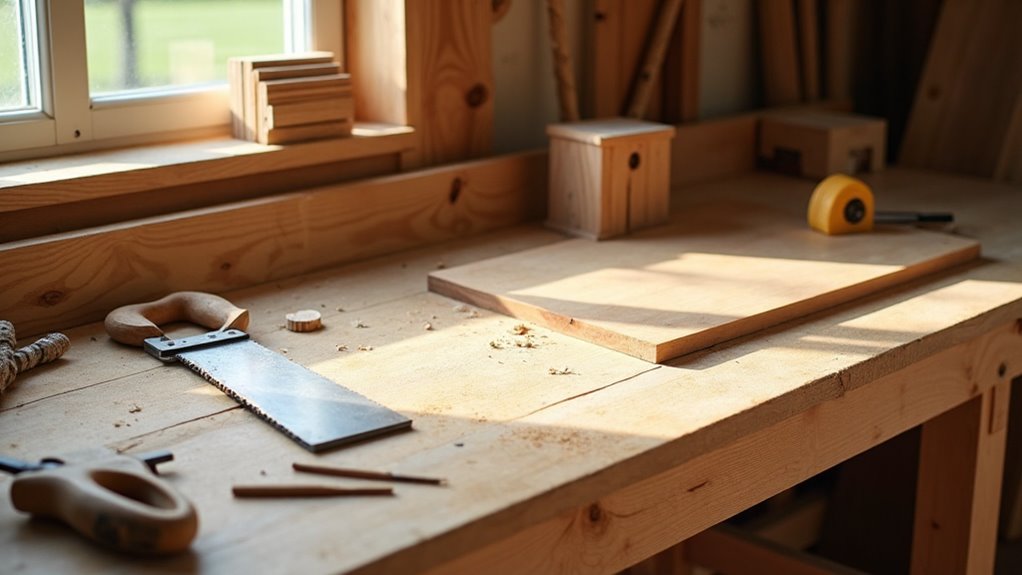
You’ll start by learning accurate measuring, safe tool use, and basic joinery, then practice with hand tools like a reliable square, chisels, and a circular saw. Outfit a well-lit, ventilated workspace, keep blades sharp, and buy quality over cheap gadgets. Begin with simple projects—cutting board, picture frame—to build precision and confidence. Work methodically, clamp joints, sand progressively, and fix fit issues before gluing; keep going and you’ll pick up deeper skills and project options.
Key Takeaways
- Learn three to five core skills first: accurate measuring, basic joinery, hand-tool techniques, sanding, and safe tool use.
- Start with essential tools: tape measure, carpenter’s square, clamps, chisels, cordless drill, and a circular saw.
- Set up a well-lit, ventilated workspace with organized storage and accessible safety gear.
- Choose simple starter projects like a cutting board or picture frame to practice measuring, cutting, and finishing.
- Maintain sharp blades, re-measure before cuts, score edges to prevent tear-out, and sand progressively for smooth finishes.
Quick-Start Checklist: First 5 Steps for New Woodworkers
Start by grounding yourself in the fundamentals: read a few trusted books or blogs and watch concise instructional videos so you understand basic tools, materials, and safety before you touch a saw.
Next, assemble essential woodworking items: a tape measure, chisels, a circular saw and a sturdy work surface.
Gather basic woodworking gear: tape measure, chisels, a circular saw, and a solid work surface.
Fit safety equipment—safety glasses, hearing protection and gloves—and organize a well-lit, uncluttered workspace.
Choose beginner projects like a cutting board or picture frame to apply foundational skills and build confidence in joinery.
Practice measuring and mark twice, then measure accurately before each cut; precision beats speed.
Finally, keep learning: refine tool technique, maintain blades, and review safety routines so your basic competence becomes reliable craftsmanship.
Core Woodworking Skills to Learn First
Pick three to five core skills and focus on them until they’re reliable: hand-tool techniques (sawing, chiseling, sanding), accurate measuring and marking with a tape measure and combination square, basic joinery (mortise-and-tenon, dados, rabbets), and wood preparation—cutting, planing, and final sanding.
You’ll build Basic Woodworking Skills by practicing with basic hand tools: hand saws, chisels, planes, and a reliable square. Make accurate measurement your habit; mark once, cut once.
Learn Essential Tools’ limitations and keep them sharp. Choose wood selection thoughtfully—grain, moisture, and species affect cuts and glue-ups.
Use hand sanding to finish surfaces and reveal flaws early. Expect mistakes; each one refines technique and judgement.
Work methodically, calibrate tools often, and repeat fundamentals until they’re instinctive.
Set Up a Safe, Functional Beginner Workshop
A well-laid-out workshop keeps you safe and productive, so set aside a dedicated area with enough room to move around projects and tools without obstruction.
You’ll design a workspace that prioritizes light, ventilation, clear cut-off zones, and easy access to frequently used items. Keep safety equipment visible and ready. Place a sturdy bench and a simple cutting board for layout and small cuts; store basic hand tools where you can grab them without interrupting flow.
- Position lighting and ventilation to reduce dust and shadows.
- Organize tools and materials on shelves, racks, and labeled bins.
- Keep safety equipment—eye protection, masks, gloves, ear protection—near workstations.
- Reserve an unobstructed area for assembly and finishing.
- Arrange frequently used items within reach to streamline beginner woodworking.
Essential Woodworking Tools to Buy First (And What to Skip)
Begin with a small, purposeful kit of hand tools and a single reliable power saw so you can learn fundamentals without getting overwhelmed.
Start with essential hand tools: tape measure, carpenter’s square, clamps, and a couple of chisels — they give you accuracy and control. Add an 18-volt cordless drill for drilling and driving; it’s versatile and beginner-friendly.
A circular saw with a carbide-tipped blade handles straight rip and crosscuts; it’ll cover most cuts until you add specialty saws. Consider a jigsaw for curves and, later, a miter saw for precise angled cuts as your projects demand.
Skip cheap bargain tools that frustrate; you’re better off investing in reliable tools. Pair tool purchases with basic woodworking classes to build skill efficiently.
Choosing and Preparing Wood for Projects
You’ll pick a species that fits the job — hardwoods like oak or maple for durability, softwoods like pine or cedar if you want easier shaping.
Check and control moisture (around 6–8% for indoor work) and store boards flat and dry to avoid warp or shrinkage.
Cut to size, then sand from coarse to fine grit so surfaces are true and ready for finish.
Wood Species Selection
When selecting wood for your project, consider both species and preparation: choose hardwoods like oak or walnut for durability and visual impact, or opt for softer, affordable woods such as pine and cedar when ease of cutting and shaping matters.
You’ll use wood species selection to match function, look, and workflow. Check moisture content before work; aim for roughly 6–8% for stability.
Cut to final dimensions, then sand from coarse to fine to avoid overworking edges. Assess grain patterns and color to verify the piece reads as intended.
Practical checklist:
- Choose hardwoods for wear and visual weight.
- Pick softwoods for ease and economy.
- Verify moisture content with a meter.
- Cut to size before sanding.
- Sand progressively for dimensional accuracy and finish.
Moisture And Stability
After picking the right species and cutting to rough dimensions, check moisture and stability before you commit to joinery or finishing. You’ll want a moisture content around 6–8% for most indoor work; use a moisture meter to verify.
Prioritize stable materials—hardwoods like oak and maple tend to move less than many softwoods, so choose accordingly for durable pieces. When preparing wood, inspect for wood defects: knots, cracks, and bows can compromise strength and appearance.
Acclimating boards in the room where the piece will live for several days lets them reach equilibrium with ambient humidity, reducing later movement. If a board reads outside target range or shows defects, replace or recondition it rather than forcing it into a project.
Cutting And Surface Prep
If you want clean joints and a smooth finish, start by choosing the right wood and preparing accurate cuts. You’ll pick hardwoods like oak for durability or pine for easy workability, but always check moisture with a meter first.
Measure twice and cut once: use a tape measure and square, then make precise cuts with a circular or miter saw. Balance power tools with basic hand tools for control.
- Verify moisture content before cutting.
- Mark and measure with a tape measure and square.
- Use a miter or circular saw for straight, precise cuts.
- Employ basic hand tools to refine joints.
- Progress through sanding grits for proper surface preparation.
Stay methodical: accurate cutting and sanding prevent rework.
Three Simple Starter Projects to Build Confidence
Confidence comes from doing—so start with three straightforward builds that teach core skills and give you useful finished pieces.
Begin with a cutting board: it teaches milling, gluing, and sanding, uses basic tools, and rewards you with a practical item that builds confidence.
Next, make a simple picture frame to practice joinery techniques, accurate measuring, and precise cutting; it’s customizable and sharpens your eye.
Make a simple picture frame to hone joinery, precise measuring, and crisp cutting—customizable and great practice.
Third, build a small storage box to combine basic joinery with hardware installation, adding function and teaching hinge and latch work.
You can add a birdhouse later to experiment with different woods and construction choices.
Tackle these projects progressively, accept mistakes as lessons, and you’ll develop foundational woodworking skills and steady, practical confidence.
Common Beginner Problems : And How to Fix Them
Mistakes are part of learning, but many common beginner problems are avoidable with a few disciplined habits: measure twice and mark clearly, keep blades sharp, score cuts to reduce splintering, use a backer board for cross-grain cuts, and sand progressively from coarse to fine.
You’ll save time and material by treating measure twice cut once as a rule and using basic hand tools for precise layout. Keep sharp blades and make shallow scoring cuts to prevent tear-out. For sanding imperfections, work from coarse to fine grits and inspect frequently.
Tight-fitting joints demand accurate measurements and patience; fit, don’t force.
- Inaccurate measurements → re-measure before cutting
- Tear-out → score and use backer board
- Dull blades → sharpen or replace
- Sanding imperfections → progressive grits
- Loose joints → adjust for fit
Frequently Asked Questions
How Do I Finish Wood for Outdoor Use to Prevent Rot?
Use rot-resistant wood, seal end grains, apply a penetrating exterior wood preservative or oil, then coat with exterior-grade primer and paint or marine varnish. Reapply periodically, guarantee drainage, and keep wood off wet ground to prevent rot.
Can I Use Reclaimed Wood for Beginner Projects Safely?
Like a map with hidden trails, you can use reclaimed wood safely if you inspect for rot, nails, pests, and chemicals, stabilize or kiln-dry it, sand and seal thoroughly, and wear PPE while cutting and treating every piece.
What Basic Maintenance Do Hand Tools Require Over Time?
You’ll clean, sharpen, oil, and adjust hand tools regularly; you’ll remove rust, hone blades, tighten handles, lubricate moving parts, and store tools dry. Routine inspections prevent wear and keep performance predictable and safe.
How Do I Measure and Mark for Angled Cuts Accurately?
Use a protractor or combination square to set the angle, scribe a crisp line with a sharp pencil or knife, clamp the work, test on scrap, adjust the fence or guide, then cut slowly following that marked line.
Are There Local Classes or Mentors for Hands-On Guidance?
Yes — you can find them. For example, a neighbor joined a community makerspace and progressed fast. Check local makerspaces, adult-education centers, woodworking clubs, or independent tutors; call, visit, and observe before committing to lessons.
Conclusion
Think of your woodworking start as planting an orchard: each skill, tool, and small project is a seed you tend. Prune your habits, water safety, and choose sturdy stock—simple benches, boxes, and jigs—to test the soil. Over seasons those saplings become useful trees. Stay patient, measure twice, and learn from knots and grain. With steady care your workshop will yield reliable craft, not flash—practical, quiet growth that serves you well.