
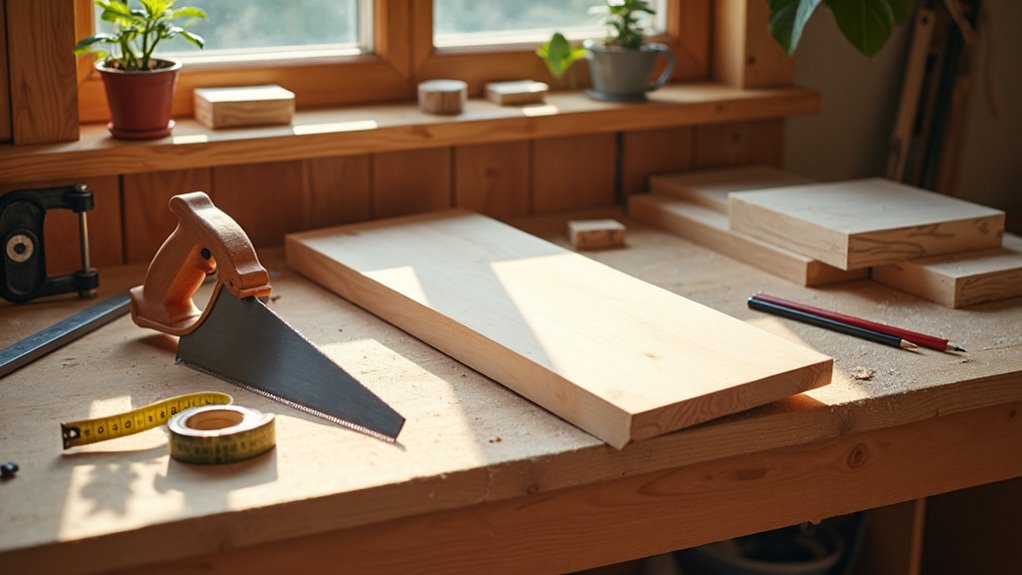
Pick a goal you’ll enjoy: a practical item for daily use or a small practice piece to learn basics. Match complexity to your tools and time—start with simple joinery like butt joints or pocket holes. Choose forgiving woods (pine), straight boards, and basic tools you already have. Focus projects on cutting, glue-ups, and sanding to build core skills. Start small, expect mistakes, and make quick fixes; keep going and you’ll learn how to adapt plans and progress confidently.
Key Takeaways
- Pick a simple, small project (cutting board, box, shelf) that can be finished in a weekend to boost confidence.
- Match the build to your tools and shop size; modify plans to avoid unfamiliar equipment.
- Choose forgiving materials like pine and straight boards to simplify cutting, fitting, and finishing.
- Focus on projects that practice core skills: measuring, cutting, glue-ups, and sanding.
- Use step-by-step plans with clear materials lists and test cuts on scrap before committing.
Choose a Goal: Practical Item or Practice Piece
Often you’ll want to decide upfront whether your first project is meant to be a useful item for your home or a low-pressure practice piece, because that choice shapes tool needs, time commitment, and learning goals.
You’ll weigh making a practical item—like a cutting board or picture frame—against a practice piece such as a simple box or basic shelf. If you pick a practical item, you get usable results while learning key techniques; if you choose a practice piece, you reduce pressure and focus on fundamentals.
Choose a practical project for useful results or a practice piece to learn fundamentals without pressure.
Consider your interests, available space, and which woodworking tools you already have or need.
Either path teaches joinery basics, material handling, and finishing, so pick the goal that keeps you motivated and confident.
Match Project Complexity to Your Skill (Joinery, Tools, Time)
Now that you’ve picked whether your first project will be practical or a practice piece, match the project’s complexity to where you’re skill-wise so you keep progress steady and frustration low.
Start with beginner-friendly builds like a cutting board or simple box — they teach milling, gluing, and basic joinery without overwhelming you.
Assess your joinery options: use butt joints or pocket holes first and save mortise-and-tenon for later.
Look at tools you actually have; for easy woodworking projects, recommend using a miter saw, drill, and basic hand tools rather than buying everything at once.
Factor time: choose small projects you can finish in a few hours or a weekend.
Pick what you’ll use or enjoy to stay motivated and grow skills deliberately.
Pick Projects That Teach Core Skills (Cutting, Gluing, Sanding)
Pick projects that force you to practice milling and flattening so your boards fit together cleanly and your glue surfaces are true.
You’ll also want glueups and clamping exercises that teach how much adhesive to use and how to align parts under pressure.
These focused skills cut mistakes and build confidence as you move to more complex pieces.
Milling And Flattening
Start by learning to mill and flatten your stock—these are the skills that make cutting, gluing, and sanding predictable and precise.
As a beginner, you’ll focus on milling faces and edges until boards sit flat and square; that consistency makes measurements reliable and joinery fit properly.
Practice on small projects like cutting boards or simple boxes so mistakes cost little and lessons stick.
Use a jointer, planer, or hand tools to remove twist and cup, then verify flatness with winding sticks or a straightedge.
Flattening improves glue surface contact and reduces sanding time later.
Work methodically, check progress often, and you’ll build confidence quickly—those solid milling habits underpin every successful woodworking project you take on next.
Glueups And Clamping
Glue-ups and clamping teach you how to turn accurately cut parts into solid assemblies, so choose projects—like a simple cutting board or a small box—that let you practice cutting, gluing, and sanding together. You’ll learn even glue application, proper clamping pressure, and timing so joints cure strong without glue-starved or crushed seams. Practice butt joints and basic joinery to build confidence with adhesives and clamps. Finish each glue-up with sanding to smooth seams and prep the wood for finish. These projects accelerate your woodworking skills by combining cutting, gluing, and sanding in realistic steps.
| Skill | Tip | Outcome |
|---|---|---|
| Glue-ups | Apply even layer | Strong bond |
| Clamping | Moderate pressure | No squeeze-out |
| Sanding | Progress grits | Smooth finish |
Choose Wood and Materials That Reduce Frustration
One smart move is to choose forgiving materials—softwoods like pine or whitewood and straight, unwarped boards will save you time and headaches as you learn. When you choose wood, pick affordable softwoods; they cut, sand, and screw more easily than hardwoods, so mistakes are less punishing.
Inspect boards at the yard and grab fresh stock before busy weekends for the best selection. Favor straight boards without visible bowing to avoid alignment issues during assembly. Learn standard 1x and 2x dimensions so your shopping list matches plans and reduces waste.
Finally, sand faces before fitting and finishing; smooth surfaces accept paint and stain more evenly and cut down on redo work. These choices keep projects simple and rewarding.
Stick to Basic Tools You Can Use Today
Start with a few essential starter tools you can actually use today—like a cordless drill, miter saw, tape measure, and a Kreg Jig—to cover most beginner projects.
Add a good random orbit sander and basic hand tools such as chisels and a mallet to improve your finish and skills.
If you’re on a budget, a circular saw or jigsaw will expand what you can build without overwhelming your workspace.
Essential Starter Tools
Even if you’re working from a small corner of the garage, getting a few basic tools will let you tackle most beginner projects with confidence: a miter saw for clean crosscuts, a cordless drill for holes and screws, a Kreg Jig for strong pocket-joint connections, and an orbital sander for smooth finishes.
Add a circular saw or table saw when you need longer rip cuts, but start with reliable power tools you can manage. Learn measuring with a tape measure and mark with a sharp pencil. Use clamps for alignment and safe glue-ups. Build skills gradually; these basics cover most first builds and teach techniques you’ll reuse.
- Keep safety gear handy: glasses, hearing protection, dust mask.
- Start with one project to practice tool use.
- Invest in a couple quality clamps.
Work With What’s Available
You don’t need a full workshop to make useful, satisfying projects—stick with a few reliable tools you already can use and match them to easy materials like pine or whitewood.
Start with a miter saw, cordless drill, and Kreg Jig; they’ll handle most basic building projects and let you cut wood accurately, drill pocket holes, and assemble with confidence.
Choose simple DIY projects—boxes, shelves, or a cutting board—that use straight cuts and basic joints so you focus on technique, not tool accumulation.
Add a random orbit sander later for smoother finishes.
Read each tool’s manual, wear PPE, and practice safe handling. Knowing these basics is all you need to know to begin and enjoy steady progress.
Four Beginner Woodworking Plans (Difficulty & Tool Cues)
While you’re learning the basics, pick projects that teach specific skills—cutting boards for gluing and flattening, simple boxes for joinery practice, picture frames for miter cuts and finishing, and shop cabinets or bookshelves as slightly more advanced builds that combine multiple techniques.
You’ll find DIY Woodworking offers a good place to start: cutting boards teach glue-ups and flattening with minimal tools, boxes introduce basic joinery and layout, frames focus on precise mitering and finishing, and cabinets/bookshelves scale those skills into practical storage.
Aim for good quality materials and learn different types of joints gradually. Start simple, build confidence, then step up complexity. These four projects give progressive challenges and clear tool cues so you stay motivated and improve deliberately.
Choose quality materials, learn joints step by step, start simple, build confidence, then tackle harder projects.
- Cutting board: few tools, focus on glue and flattening
- Simple box: practice joinery and dimensions
- Picture frame: miter cuts and finish skills
Read and Adapt a Plan for Your Shop and Budget
After you’ve practiced the basic skills with a few starter projects, pick a plan that fits your shop size, tools, and budget before cutting any wood.
Read the plan thoroughly: study the materials list, measurements, and tool calls so you know if you’ll need a saw, clamps, or a router.
Make sure your workspace can handle the full-size project; if space or tools are limited, adapt dimensions or joint choices to match what you have.
Choose affordable woods like pine while learning, and confirm the materials list covers fasteners and finishes to avoid mid-build runs to the store.
Good plans include step-by-step guidance—use them, modify respectfully, and build confidence with each adjusted project.
Common Beginner Mistakes : Fixes You Can Do Fast
Catch mistakes early and you’ll save time, money, and frustration. You’ll make mistakes—everyone does—but quick fixes keep projects moving.
Double-check measurements and make a practice cut on scrap before you touch final pieces; a circular saw and a sharp blade make cleaner cuts and reduce sanding later. Use a square to confirm aligned joints; if one’s loose, reinforce it with glue or dowels.
Double-check measurements, test cuts on scrap, and use a square—reinforce loose joints with glue or dowels for cleaner results.
Store boards flat and dry to prevent warping. If you’re a big fan of trying something new, keep these fast remedies on hand.
- Practice cuts on scrap wood to avoid miscuts.
- Keep blades sharp and sandpaper quality high for smoother finishes.
- Use glue/dowels and a square to fix loose or misaligned joints.
Frequently Asked Questions
How Do I Finish Wood to Be Food-Safe for Cutting Boards?
Use food-safe finishes: apply multiple coats of mineral oil or walnut oil, let penetrate, wipe off excess, then cure. For durability, seal with food-grade beeswax or a wax/oil blend; reapply regularly and avoid vegetable oils.
Can I Use Plywood Offcuts for Furniture Legs?
Sure — you can, but don’t expect plywood offcuts to impersonate solid-wood legs forever. You’ll need to laminate layers, orient veneers for strength, reinforce joints, and finish edges; done right, they’ll be sturdy and surprisingly attractive.
What Personal Protective Equipment Is Essential Beyond Safety Glasses?
You need hearing protection, a dust mask or respirator, and gloves appropriate for the task; add a face shield for grinding, sturdy boots, and snug clothing. Keep PPE maintained and comfortable so you’ll actually wear it consistently.
How Do I Sharpen Hand Planes and Chisels Properly?
Sharp as a tack, you’ll hone chisels and planes by flattening backs, setting bevels, and using progressively finer stones or sandpaper strops. Keep angles consistent, test on scrap, and finish with a leather strop for razor edges.
Is It Okay to Glue Painted or Stained Surfaces?
Yes, you can, but you shouldn’t: glue bonds fail on painted or stained surfaces unless you remove finish down to bare wood or abrade it thoroughly. Sand or scrape finish away, then clamp tight for a reliable joint.
Conclusion
You’re ready to pick a first build that won’t bite back. Choose a goal that fits your patience, match complexity to your tools and time, and favor projects that teach cutting, joinery, gluing and sanding. Use forgiving woods and simple hardware, stick to basic tools you already own, and tweak plans to your shop and budget. When mistakes bloom, prune them quickly—each small fix is fertilizer for better, steadier work.